
How to Apply Your
Labels for Maximum Performance
A high-quality label is only as good as the surface it's applied to. Even the most durable asset labels and graphic overlays rely on correct application to achieve their full lifespan.
Our labels are manufactured using premium materials and permanent adhesives, designed to provide long-term durability in demanding environments. Following these simple application guidelines will help ensure the strongest possible bond and maximise the life of your labels.
Prepare the Surface
Surface preparation is the most important step in the application process.
Before applying your label, ensure the surface is clean, dry and free from dust, grease, oil, moisture or cleaning residues. Even surfaces that appear clean can carry contaminants that affect adhesion.
For best results, wipe the application area with a lint-free cloth and a small amount of suitable cleaning agent; such as methylated spirits or isopropyl alcohol. Allow the surface to dry completely before applying the label. This step is critical. Although cleaning the surface is essential, any residual cleaning agent can attack the adhesive, preventing it from achieving its maximum bond strength and long-term durability.
Apply the Label Carefully
Once the backing has been removed, handle the label carefully by its edges wherever possible. Avoid touching the adhesive surface, as oils from your hands can reduce bond strength.
Position the label carefully and apply firm, even pressure across the entire surface. This helps the adhesive make full contact with the substrate and pushes out any trapped air.
Permanent adhesive labels are not designed to be repositioned. Once applied, avoid lifting or adjusting the label, as this can compromise long-term adhesion.
Allow the Adhesive to Fully Cure
This is one of the most important factors in achieving long-term label performance.
Although the label will feel secure immediately after application, the adhesive continues to build strength over time. Most permanent adhesives require a minimum of 48–72 hours to achieve their maximum bond strength.
During this curing period it is essential to:
- Avoiding any attempt to remove or reposition the label.
- Not lifting the edges to "check" whether it has adhered properly.
- Minimising exposure to excessive moisture, cleaning chemicals or abrasion where possible.
It is quite common for a newly applied label to feel less secure than expected. This is perfectly normal. The adhesive is designed to form a stronger bond as it cures, creating a far more durable attachment than is achieved immediately after application.
For best results, allow longer than 72 hours before assessing the final adhesion performance of your label.
Expert Advice
Different surfaces require different types of adhesives for optimum performance. Factors such as surface texture, material type, environmental conditions and cleaning requirements can all affect label performance.
If you're unsure which label material or adhesive is best suited to your application, our team can provide expert guidance to help you select the most appropriate option.
Key Takeaways:
- Clean the surface and allow it to dry completely.
- Any dust, grease, moisture or cleaning residue can reduce adhesion.
- Position carefully – do not reposition.
- Once applied, lifting or repositioning the label can weaken the adhesive bond.
- Avoid touching the adhesive.
- Handle the label by its edges to prevent oils and contaminants affecting performance.
- Allow 48–72 hours for the adhesive to fully cure.
- The label may feel secure immediately, but maximum bond strength is only achieved after the curing period.
Following these simple guidelines will help ensure your labels achieve the strongest possible adhesion and the longest possible lifespan.
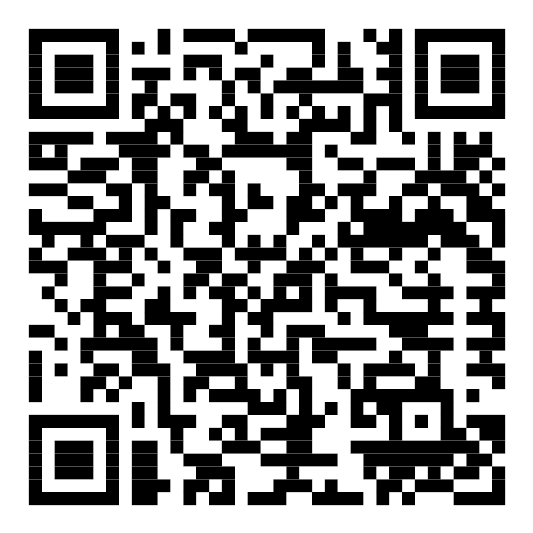
For a mobile or tablet device friendly quick tip guide, please scan this QR.